Press-On Nails for Every Occasion: From Weddings to Everyday Glam
- May 11
- 4 min read
Press-on nails have transformed the way people approach nail care and style. They offer a quick, affordable, and versatile solution for anyone who wants beautiful nails without the time and expense of salon visits. Whether you’re preparing for a wedding, a party, or just want to add a touch of glam to your everyday look, press-on nails can fit seamlessly into your routine.
This guide will walk you through everything you need to know about press-on nails, from choosing the right style for different occasions to tips on application and care. You’ll discover how to make press-on nails work for you, no matter the event.
Why Choose Press-On Nails?
Press-on nails have gained popularity because they combine convenience with style. Here are some reasons why they are a great choice:
Time-saving: You can apply them in minutes without waiting for polish to dry.
Cost-effective: They are generally cheaper than salon manicures.
Variety: Available in countless designs, shapes, and sizes.
Damage-free: When applied and removed properly, they cause less damage than acrylics or gels.
Reusable: Some sets can be reused multiple times with care.
These benefits make press-on nails an excellent option for anyone who wants to look polished without the hassle.
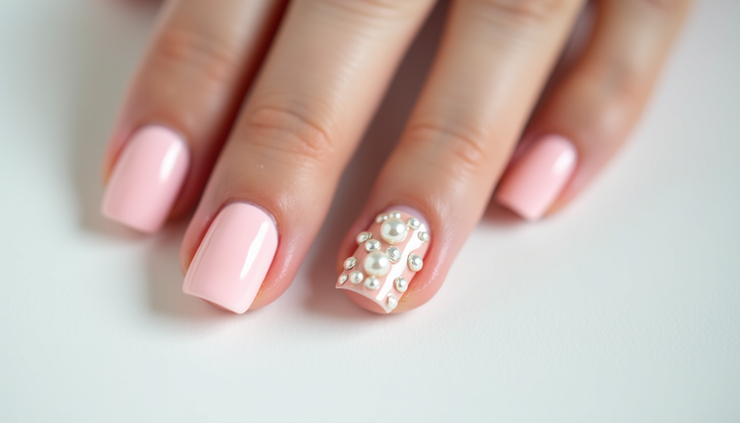
Press-On Nails for Weddings
Weddings call for elegance and perfection, and nails are no exception. Press-on nails can provide a flawless look that complements your bridal style.
Choosing the Right Style
Classic French tips: Timeless and elegant, perfect for brides who want a subtle look.
Soft neutrals: Shades like blush, ivory, or pale pink blend well with most wedding dresses.
Delicate embellishments: Small rhinestones or pearls add a touch of glamour without overpowering.
Custom designs: Some brands offer custom press-ons that match your wedding theme or colors.
Application Tips for Brides
Apply nails a day before the wedding to ensure they settle well.
Use a strong adhesive for a secure hold throughout the day.
Keep a small nail glue and file handy for quick fixes.
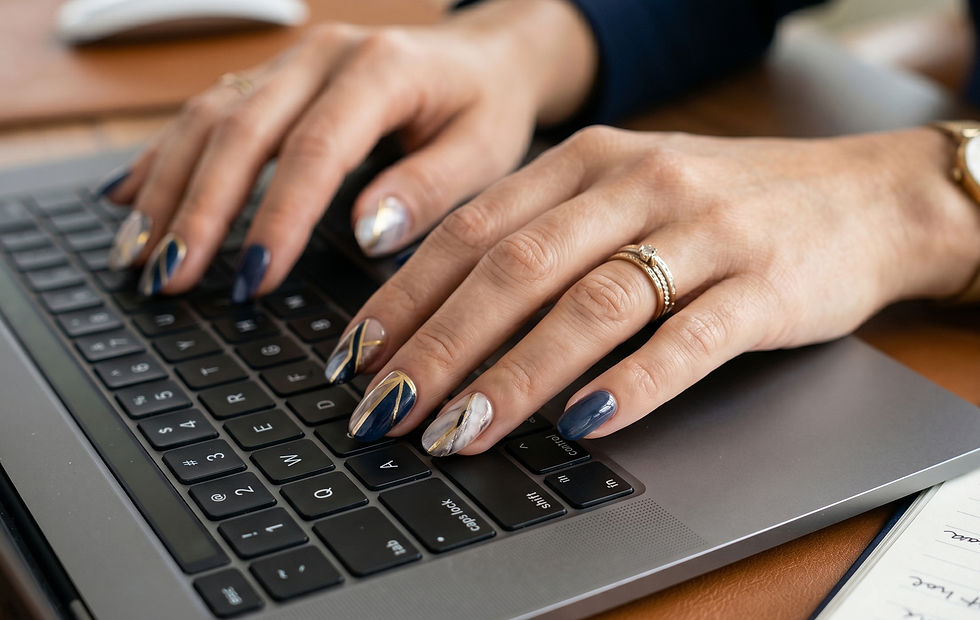
Press-On Nails for Everyday Glam
Not every day needs to be a special occasion, but that doesn’t mean your nails can’t shine. Press-on nails offer a simple way to add style to your daily routine.
Styles That Work Daily
Neutral shades: Beige, soft pink, or light gray for a polished but understated look.
Matte finishes: Offer a modern twist on classic colors.
Short and natural shapes: Easy to maintain and practical for work or school.
Trendy patterns: Subtle stripes, dots, or minimalist art for a bit of personality.
Practical Tips for Daily Wear
Choose nails that fit your natural nail size to avoid discomfort.
Avoid overly long or sharp shapes if you use your hands a lot.
Remove nails gently to protect your natural nails.
Press-On Nails for Parties and Special Events
For parties, you can be more adventurous with your nail choices. Press-on nails allow you to experiment with bold colors and designs without long-term commitment.
Popular Party Styles
Glitter and metallics: Gold, silver, or holographic finishes catch the light beautifully.
Bright colors: Reds, blues, and purples make a statement.
Graphic designs: Animal prints, geometric shapes, or floral patterns add fun.
Long and dramatic shapes: Coffin or stiletto shapes create a striking look.
How to Make Them Last Longer
Clean your nails thoroughly before application.
Use a base coat or primer if included in the kit.
Avoid excessive water exposure for the first few hours.
Apply a top coat to seal the design and add shine.
How to Apply Press-On Nails Correctly
Proper application is key to making press-on nails look natural and last longer. Follow these steps:
Prep your natural nails: Remove old polish, push back cuticles, and lightly buff the nail surface.
Select the right size: Match each press-on nail to your natural nail size for a comfortable fit.
Apply adhesive: Use the glue provided or double-sided nail tabs for a less permanent option.
Press firmly: Hold each nail in place for 30 seconds to ensure a strong bond.
File and shape: If needed, file the edges to blend the press-on nails with your natural nails.
Caring for Your Press-On Nails
Taking care of your press-on nails will keep them looking fresh and help protect your natural nails.
Avoid using your nails as tools to open or pry things.
Wear gloves when doing household chores or using cleaning products.
Moisturize your cuticles regularly to prevent dryness.
Remove nails gently by soaking in warm water and using a cuticle stick to lift edges.
Removing Press-On Nails Safely
Removing press-on nails without damaging your natural nails is important.
Soak your nails in warm, soapy water for 10-15 minutes to loosen the adhesive.
Gently lift the edges with a cuticle stick or orange wood stick.
Avoid pulling or forcing the nails off.
After removal, wash your hands and apply cuticle oil or moisturizer.
Final Thoughts on Press-On Nails
Press-on nails offer a flexible and stylish way to enhance your look for any occasion. From weddings to everyday glam, they provide options that suit different tastes and lifestyles. By choosing the right style, applying them carefully, and maintaining them properly, you can enjoy beautiful nails without the usual hassle.


Comments